Useful tips and tricks to get the best results from the Mapping process
Applies to Twinkly Generation I and Generation II devices, Twinkly PRO and Twinkly Plus.
The Mapping process allows the application to locate the LEDs in the space and map them. This way you can create a custom layout and apply the most advanced effects to your Smart Decoration.
There are some useful tricks to get the best results from the Mapping procedure.
Tricks for perfect mapping
Below is a list of do's and don'ts:
-
Please make sure that you gave the app permission to access your camera.
-
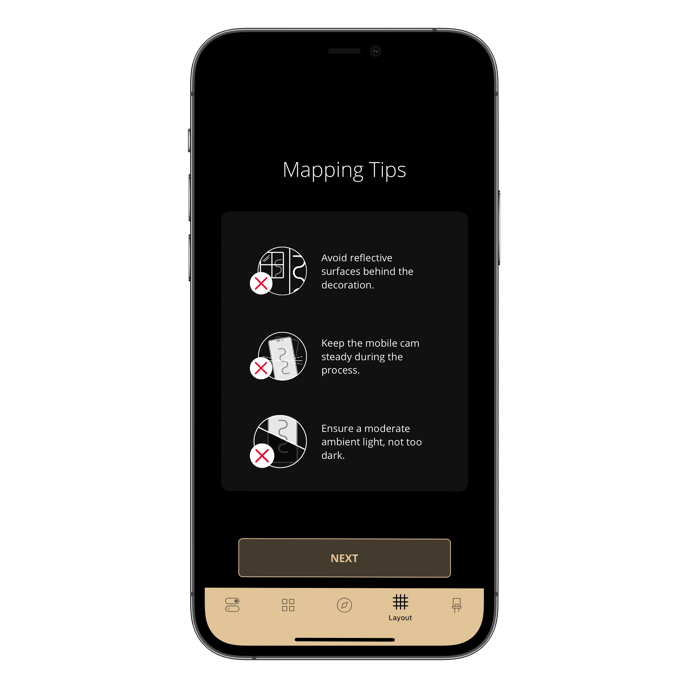
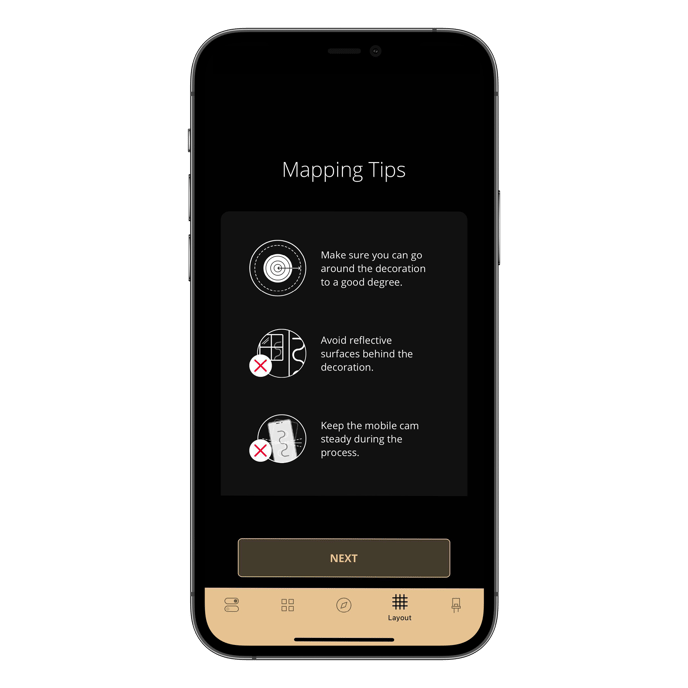
Keep your camera as still as possible.
-
Make sure you get rid of any “Reflection” effect caused by windows, mirrored walls, polished floors, and other reflective objects around your decoration.
-
Make sure you lower the surrounding lights to get a better contrast between the LEDs and the ambient light, and an easier detection by the app.
-
Avoid extremely dark environments. In the dark, the detection of LEDs using your smartphone’s camera can create a halo that makes it more difficult to detect. Prefer natural light, but not the direct reflection of the sun.

Tricks for linear setup
If you want to highlight a building’s profile or rooftop, it can be challenging to map all the scenes in one shot.
The possible scenarios could be as follows:
-
Not to map your lights!
All the effects can be applied to the strings even when not mapped and the effects will run in a linear direction on the string.
If you chose the first option, remember that effects created in "drawing" mode are not available on some unmapped devices, such as Strings, and that some effects are dedicated to 2D or 3D layouts.
-
Choose the Easy Mapping (2d) option.
Lock your phone's screen -> stand right in front of the installation -> keep the phone horizontal and with the screen locked, so that it doesn't automatically turn upside down the view while Mapping.
Finally, keep in mind that if you have an iOS device, wide and zoom modes are available during mapping.
The activation sequence is: main camera (wide angle) -> Ultra wide angle -> Zoom (available in PRO models with third camera).
Tricks for an amazing 3D Mapping
Here are a few more tips for achieving a perfect 3D layout with the Advanced Mapping procedure (in addition to the tips already shared in point 1)
-
Check the status of the wi-fi connection
-
Start with a first scan, remaining as still as possible until the end of the step
-
After the first step, proceed with the following ones, and remain stable for the entire duration of the scan.
-
If at the end of a scan you get many red leds, it means that they are not mapped, so you need to do another scan in that same position, you just need to move slightly to change the framing.
-
Since this process is made up of several steps, at each step you have to move with the shot until you scan the entire 3D object

How to map groups of Twinkly devices?
Join => you can map an entire Join group after creating it.
Area => if you want to map an Area group you can map the individual devices first and then create the group or vice versa, depending on your needs.
Sync => if you want to make a Sync group you have to map the individual devices first and then create the group.
Not found what you were looking for? Contact us.
